

To ensure a smooth transition from version 20 to version 21, you should first back up your RIP configuration. This way, your usual settings, profiles and printer definitions will be directly available to you in the new version. Thanks to the integrated backup and restore functions, this can be done conveniently.
With a V21 license you can run V21.00 as well as the last release of the previous version (V20.01). These two versions can be installed side by side on the same system without any problems and can be operated alternately. When switching between the two installations, it is necessary to start the alternative version of the product once with administrative rights. This applies to both hardware-based licenses with dongle and software-based licenses with activation code. If you are still using an older V20 build, you should first install the latest V20.01 build before upgrading. You can find it in our Service & Support area under Download > Software & Updates > Version 20 > Productionserver/Filmgate/Proofgate 20 (login required).
Note: If you are upgrading from version 10 to version 21 and want to run these versions in parallel during the transition period, please contact us via our web ticket system.
To start the update process, please start the older version. Select Options > System Configuration > Backup… to open the Backup RIP Configuration dialog.
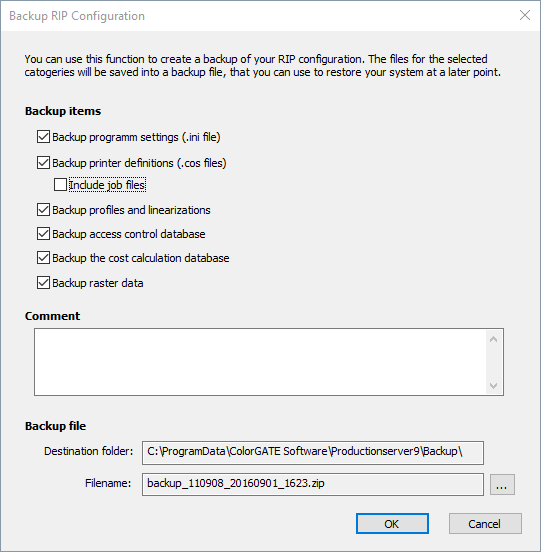
Backup program settings contains e.g. measuring device settings or the currently opened printers. The printer definitions contain e.g. the hotfolder settings. You can also save all jobs with the Include job files option. This allows you to reprint them without having to rip them again in V21. For profiles and linearizations, not only these files themselves are saved, but also the entire MIM combinations. The settings of the Access Control Module and the Cost Calculation Module can also be backed up. The Backup raster data option is only needed if you use Filmgate or the Film & Plate Module for Productionserver and use your own screen sets.
In the Comment field you can add a description for the backup, so that you can later identify what the backup was created for and from which state it was created. Both the destination folder and the file name can of course be customized according to your own preferences.
After you click OK, a dialog box shows how big the uncompressed data is.
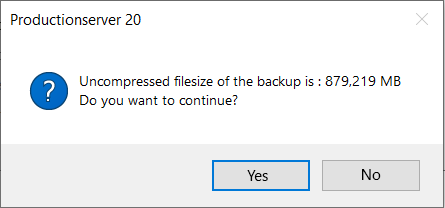
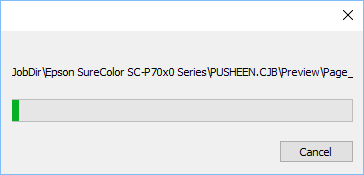
The larger the amount of data, the longer the backup process will take. After clicking Yes, the data is compressed and stored in a zip file to save disk space. With gigabyte-sized jobs in the archives, this may take more than 10 minutes.
Once the backup is complete, the software will ask if and when to remind you about the next backup.

The backup process is now complete. You can now import the backup into your V21 installation. Please start V21 with administrative rights so that the required permissions are available during the import process.
Select Options > System Configuration > Restore… to open the Restore RIP Configuration dialog.
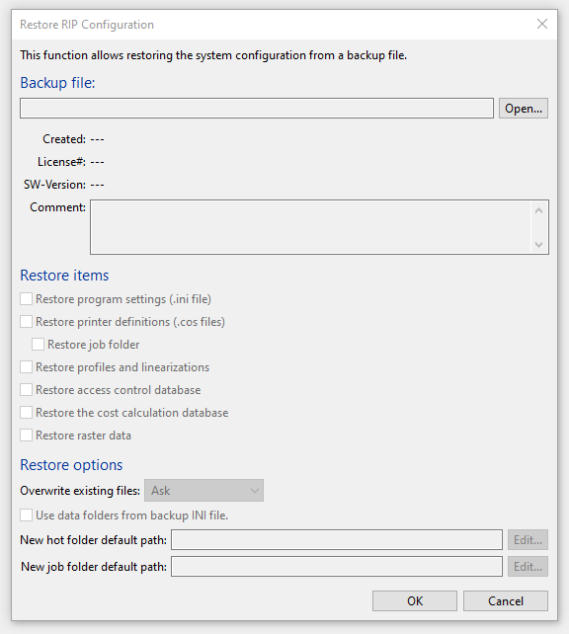
Now click Open and select the previously created backup file from the old version there.
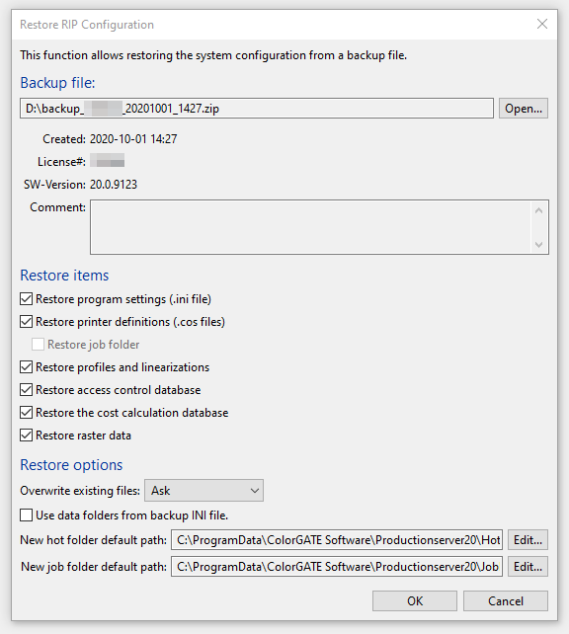
Various information about the backup is now displayed, e.g. in which version it was created and which data it contains. The check boxes allow you to restore only certain data from the backup, if this is desired. Under Restore options you can set whether existing data should be overwritten. In addition, you can decide whether you want to copy the backup to the same folders as before or choose new default paths. The archive folders (respectively the jobs contained in them) will then be stored there.
Note: If the data folders from the INI are used, this may result in the folders for profiles, job archive and hotfolder from the previous version being used, for example. This can lead to conflicts if, for example, V20 and V21 are used alternately for a while, or if the V20 folder structure will be deleted. We recommend to use this option only when restoring a backup of the same version and not when updating to a new version.
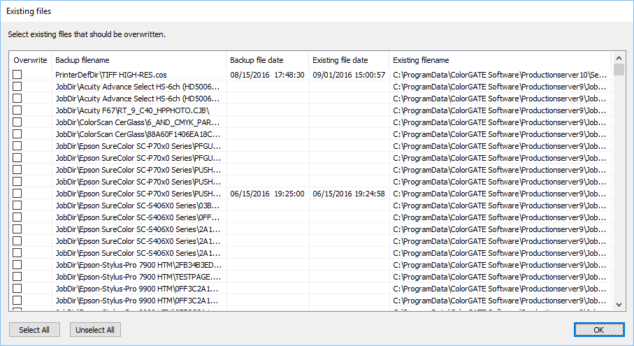
After you have clicked OK, another confirmation request appears and, if necessary, the files that are to be overwritten are displayed. During a version upgrade, usually everything can be overwritten.
After the import you will have to restart the software. Once this is done, the imported data will be visible and you can continue working in V21 as you did in V20, although we recommend checking the hotfolder settings to learn for example about new options and possibilities of the new version.
Then, when you are sure that you have transferred all the data you need from the old version, you can uninstall V20 to save disk space.
0 Likes