

This document describes how to use the Virtual Printer with Mac OS X.
I: Installation of TCP/IP Service:
1.
Log in with administrative rights.
2.
Click Start -> Settings -> Control Panel.
3.
Double-click Add-remove Programs.
4.
Click the Add-Remove Windows Components button.
5.
Check the “Other network File and Printer Services” section and click on Details.
6.
Check “Print Services for Unix”.
7.
Click OK; click Next. (The Computer will probably ask for a Windows install disk, go ahead and insert it and the install will run automatically.)
8.
Click Finish.
II. How to start the service automatically:
1.
Click Start -> Settings -> Control Panel.
2.
Double-click Administrative Tools.
3.
Double-click Services.
4.
Double-click TCP/IP print Server.
5.
Change the ”Startup Type” to Automatic.
6.
Click OK and close all windows.
III. How to share a printer for TCP/IP printing:
1.
Click Start -> Settings -> Printers.
2.
Right-click the printer you want to share and select Sharing.
3.
Click the radio button for “Share as” and fill in the share name you want to print to. Note that you have 12 characters left (no spaces are allowed in the share name).
IV. How to install a PPD under Mac OS X:
1.
Create a PPD from our software by choosing the menu “Printer – Create PPD”. In the upcoming window choose “Export PPD for other systems”.
2.
Give a significant name and choose a place where you want to store the file (e.g. on Desktop).
3.
Copy the PPD to: Macintosh HD/ Library/ Printers/ PPDs/ Contents/ Resources/ en.lproj.
4.
No need to restart; it will automatically detect the newly installed PPDs.
V. How to create a local virtual printer under Mac OS X:
1.
Open the “Print Center” and click on “Add Printer”.
2.
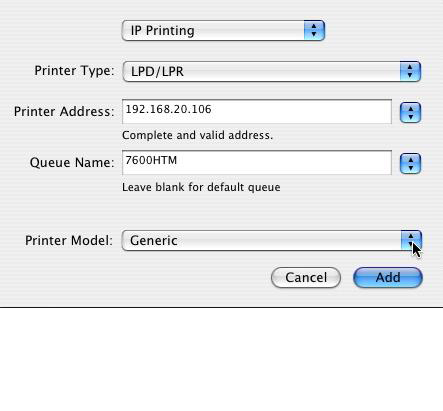
In the next window choose “TCP/IP-Printer” in the upper pulldown menu.
3.
In the field “Printer Adress”, please enter “localhost” (without quotes) in order to create a printer which is saving PostScript files locally or enter the IP Adress of the computer you installed the ColorGATE software on. This is needed if you want to print directly into the software. In “Queue Name” please fill in the sharing name of the virtual printer on the PC.
4.
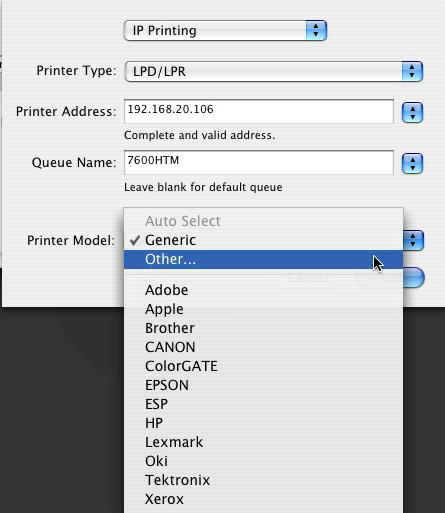
In the pulldown menu “Printer Model” choose “Other”, then navigate to: Macintosh HD/ Library/ Printers/ PPDs/ Contents/ Resources/ en.lproj and select the PPD you have created before.
5.
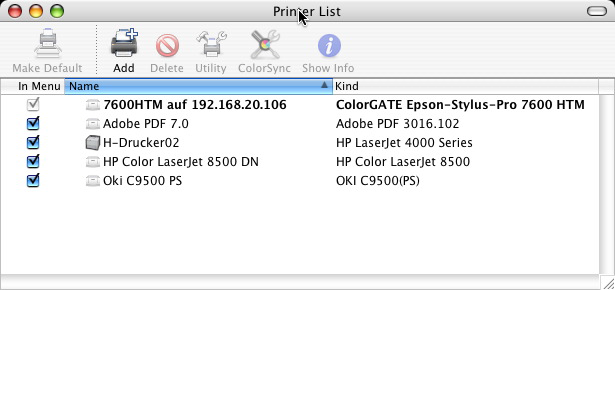
The printer is available.
VI. How to save PostScript files under Mac OS X:
1.
Choose “Print” from your application.
2.
In the upcoming printing dialogue please choose the printer named “localhost.”
3.
Open the pulldown menu “Copies & Pages” and select “Output Options.”
4.
Now click the checkbox “Save as file” and choose as format “PostScript”.
5.
Save the file via network to the hotfolder of your printer set up in our software.