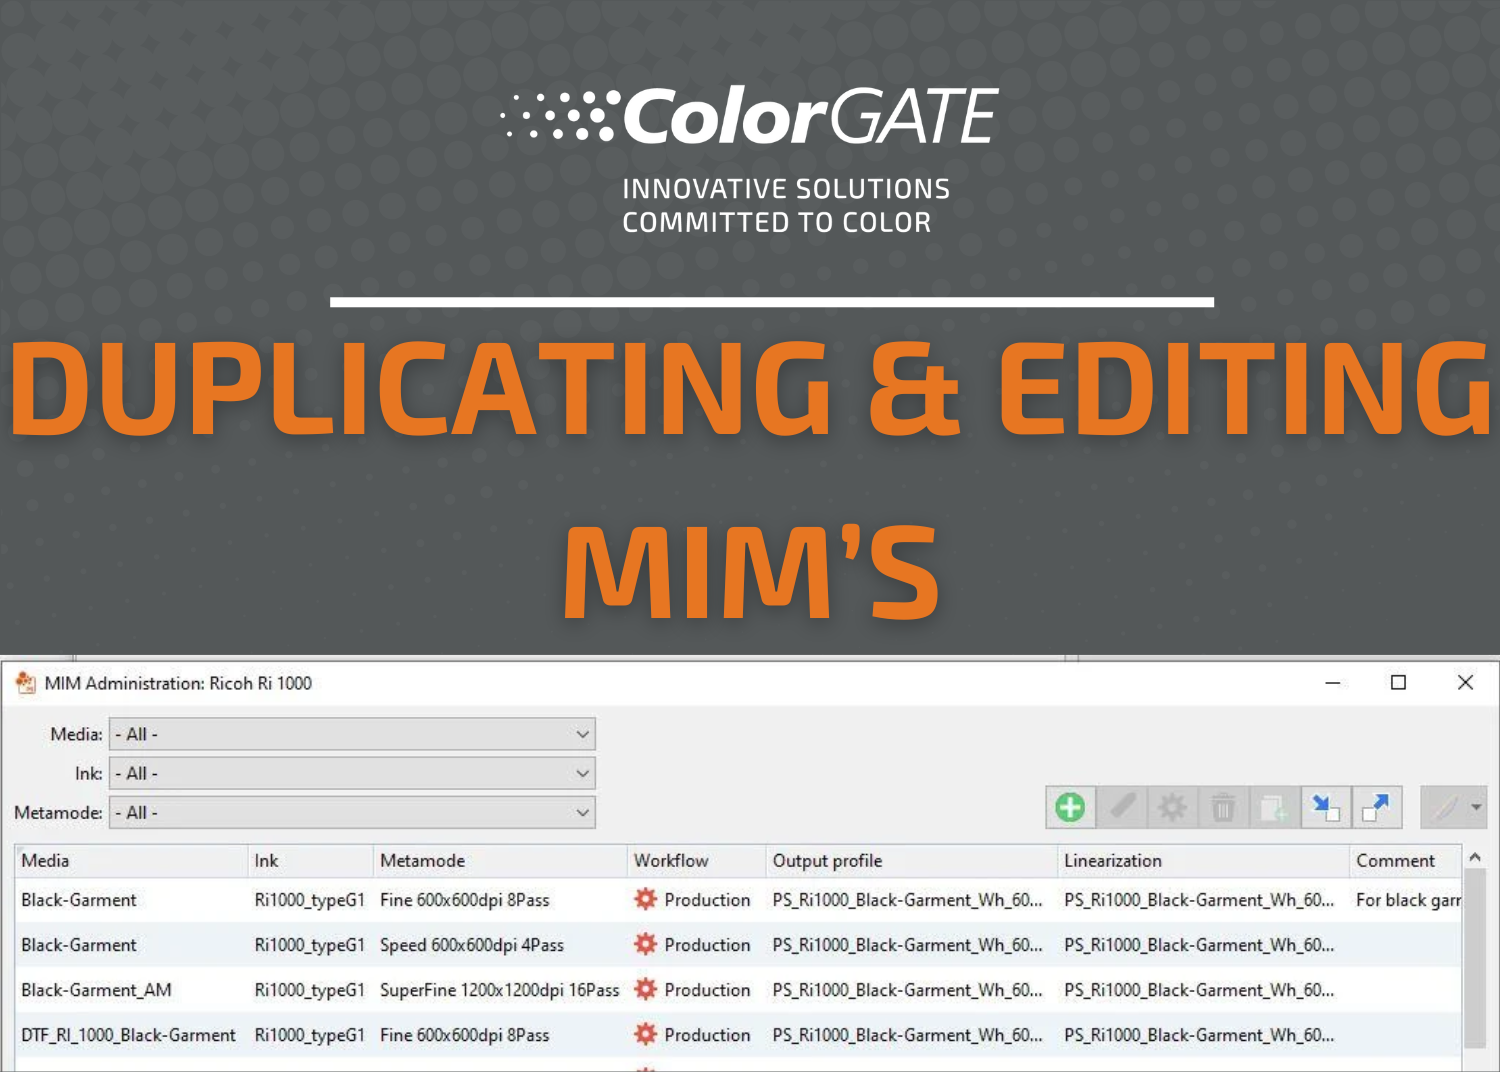
MIM combinations contain important production-relevant parameters that are automatically applied during the printing process and therefore reliably lead to consistently high print quality. In this blog article, we give you helpful tips and tricks for creating and handling MIM combinations.
The first part of the article, in which you will find out what the purpose of MIM’s is, what a MIM consists of and where you can obtain a MIM, can be found here: Tips and Tricks for MIM’s – Part 1: What are MIM’s and where did I get them.
Note: Please note that the following tips may not be applicable to MIM’s for the screen workflow, as other settings are required for this.
When should I duplicate and adjust a MIM combination?
Certain print settings, especially color settings, are defined in MIM combinations and are automatically implemented in the assigned jobs. If you already have a MIM for your printer setup and only want to change individual settings, it is best to duplicate the existing MIM and then make the desired changes in the new MIM.
This is particularly useful if certain settings are changed frequently, e.g. for the special color White sometimes “Selective” and sometimes “Filling” is used or Metallic Silver with spot color requires specific settings. In these cases, it is easy to create several MIM variants with the necessary parameters and assign them to a job as required without having to make all the settings again each time.
These different setting variants can also be used perfectly for proof printing: For example, you can create two MIM variants, assign them to the same job one after the other and check which parameters lead to which result during the proof run. Press proofing therefore takes significantly less time, and saving all settings in the MIM ensures that no setting is overlooked and that all parameters correspond to those of the press proof during final printing.
As the “MIM” column in the job queue shows which MIM is currently assigned to a job, you always have an overview of which job is being printed with which setting variant.

To duplicate a MIM, simply select it in the MIM Administration (under “Options” > “MIM Administration…”) and click on “Duplicate MIM combination”.
How do I make changes to a MIM?
If you want to make changes to a MIM, you can either open the MIM Administration (under “Options” > “MIM Administration…”), select the relevant MIM and then click on the button ![]() („Edit MIM settings“) to make changes to the advanced settings of the MIM.
(„Edit MIM settings“) to make changes to the advanced settings of the MIM.

Or you open the job to which the corresponding MIM is assigned, go to the advanced settings of the MIM and change the desired parameters there (job settings > “Color” tab (the MIM to be changed must be selected) > “Settings…”).

If changes are made on the “Print Mode” tab, the message “Print mode modified!” is displayed on the “Color” tab in the job settings.

By clicking on the arrows next to “Store to MIM”, you now have the option of saving the changes you have made in the currently selected MIM or in a new MIM (whereby the original MIM remains unchanged). As print mode changes usually have a major impact, it may be advisable to save these changes in a new MIM. In some cases, re-profiling is also necessary afterwards (after changing the resolution or color mode, for example, the linearization and profiling files are often no longer suitable).
After changes on all other tabs of the advanced settings, the message “Modified!” is displayed. You can now also save the changes in the currently selected MIM or in a new MIM.
The best way to make changes to the workflow is to duplicate the MIM and then adjust the workflow.
Can I also use an existing MIM combination for other printers?
A MIM combination is usually very specific to a printer with a certain printer setup. However, if you have several printers that are very similar (e.g. differ only in width) and should therefore use the same MIM, you can export the corresponding MIM and specify for which printers it should be available:
To do this, select the desired MIM in the MIM Administration (under “Options” > “MIM Administration…”) and click on “Export MIM combinations”.
Enter a name for the MIM to be exported and click on “Save”. In the dialog that now appears, you can add the printers for which this MIM should be available under “Compatible printers”.

Let’s continue with Tips and Tricks for MIM’s – Part 3, which explains how to create a completely new MIM.

