

Complex technology requires clear terminology. ColorGATE CEO Thomas Kirschner explains why calibration and characterization must be distinguished in digital color management.
What is “calibration”?
Calibration is an age-old process that came up several hundred years ago in the context of weighing and measuring. According to the Merriam-Webster dictionary, to calibrate means “to standardize (something, such as a measuring instrument) by determining the deviation from a standard so as to ascertain the proper correction factors”. This terminology is well applicable when dealing with older, simplistic processes. But when different hardware and software components interact, as in color-accurate digital printing, it seems a bit more complicated.
An example: a technician is on site with a customer. The customer has a problem with the color output of his printer. He says, “I don’t understand the problem at all, the printer is supposed to be calibrated.” The blame for the confusion lies with the unclear terminology we use to describe the processes involved in ensuring that an inkjet printer delivers color-correct results.
This confusion not only affects our hypothetical customer, who may be somewhat inexperienced in color management. Even among “old hands” in the industry, it can happen that one person is thinking of profiling, where the other is really talking about calibrating the printing unit.
Here at ColorGATE, we use the following terms for the processes that are often lumped together as “calibration”:
- Calibration is mostly hardware-related and ensures the basic color differentiation capabilities of the printing press
- Characterization is used to match the settings of the data-providing software (RIP) to the properties of the calibrated press.
Tuning the instruments: The machine calibration
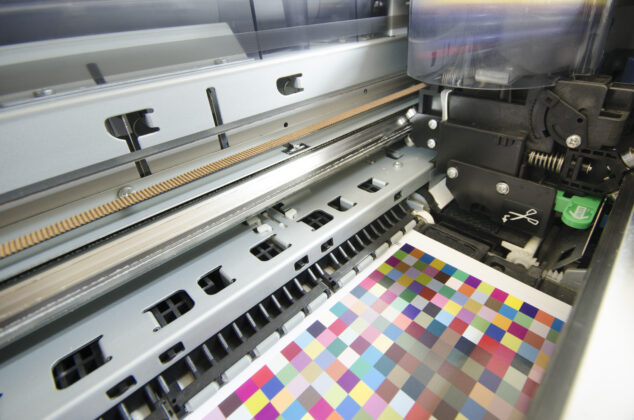
The calibration of the printing press is the basic prerequisite for implementing a color management workflow. It is in some ways comparable to tuning an instrument: the best conductor would have his difficulties if the orchestra had to play on untuned instruments during a concert night. Through calibration, we make sure that our inkjet printer is “well-tempered”.
Calibration is first and foremost related to the printing unit, in other words it means machine calibration. The print heads must be adjusted so that the nozzles are correctly aligned – not only on the X and Y axes, but also on the Z axis, since an uneven distance between the nozzles and the motif would result in a non-uniform, “washed out” print image.
Once the nozzles of a single print head are correctly aligned, the next step is to align the print heads to each other.
Then a linear increase in density must be established, i.e. it must be ensured that uniform tonal values are achieved for 100% of a color and for the intermediate stages (e.g. 70, 50, 20%). All these are tasks that should be performed on the hardware end by a technician from the printer manufacturer.
Let’s take the following problem as an example: the print image has a fluctuating color density that decreases from the outside to the inside. This might be caused, for example, by a decrease of pressure towards the center that can occur while the ink passes through the print heads within a print head bar.
To compensate for this problem, we must start where the pixel values of the print job are converted into electrical signals – in the driver electronics. The voltage applied to the nozzles must be adjusted to compensate for the undesired effect and homogenize the ink application. Depending on the machine, this can be done for specific print head segments or – with some modern print heads – accurately to the nozzle. If a print head is replaced later, these adjustments must be made again; a necessary process.
Theoretically, this problem could be compensated on the software end as well – e.g. by an adapted screening. However, the correction would then be shifted from the driver electronics to the print data that is transferred to the printer by the data-generating software. This solution causes a number of problems. In particular, the correction will only work for the individual press. And if a print head had to be replaced, this solution would require a new correction.
A press that already operates as linearly as possible offers the best conditions for the subsequent color management processes in the software – although this does not replace software-based linearization in most cases, it does make it much easier. To check the linearity of the printer, we therefore recommend that you print the following values:
- A final density for each primary color – follow the standards for offset printing
- Intermediate stages of primary colors e.g. at 20, 50, 70% (must be homogeneous to each other)
- Secondary colors, e.g. 30% magenta, 30% yellow (must be homogeneous to each other)
You will then have a calibrated machine that provides a good starting point for digital color management.
Read on in part 2 of the article: https://blog.colorgate.com/en/2239/calibration-clarified-part-2-of-2/.
0 Likes