

Do you know our Print & Cut Module (PCM) and the ColorGATE CutServer? No?! Then this Blog is for you.
The optional Print & Cut module complements the Production Server 9 by various functions for controlling cutters to provide printed motifs with a contour cut .
Since printers and plotters can independently operate the Print & Cut module with virtually any in Prodctionserver 9 supported printers are used . This has the advantage that a plotter can be easily integrated into an existing or new production chain .
How does it work?
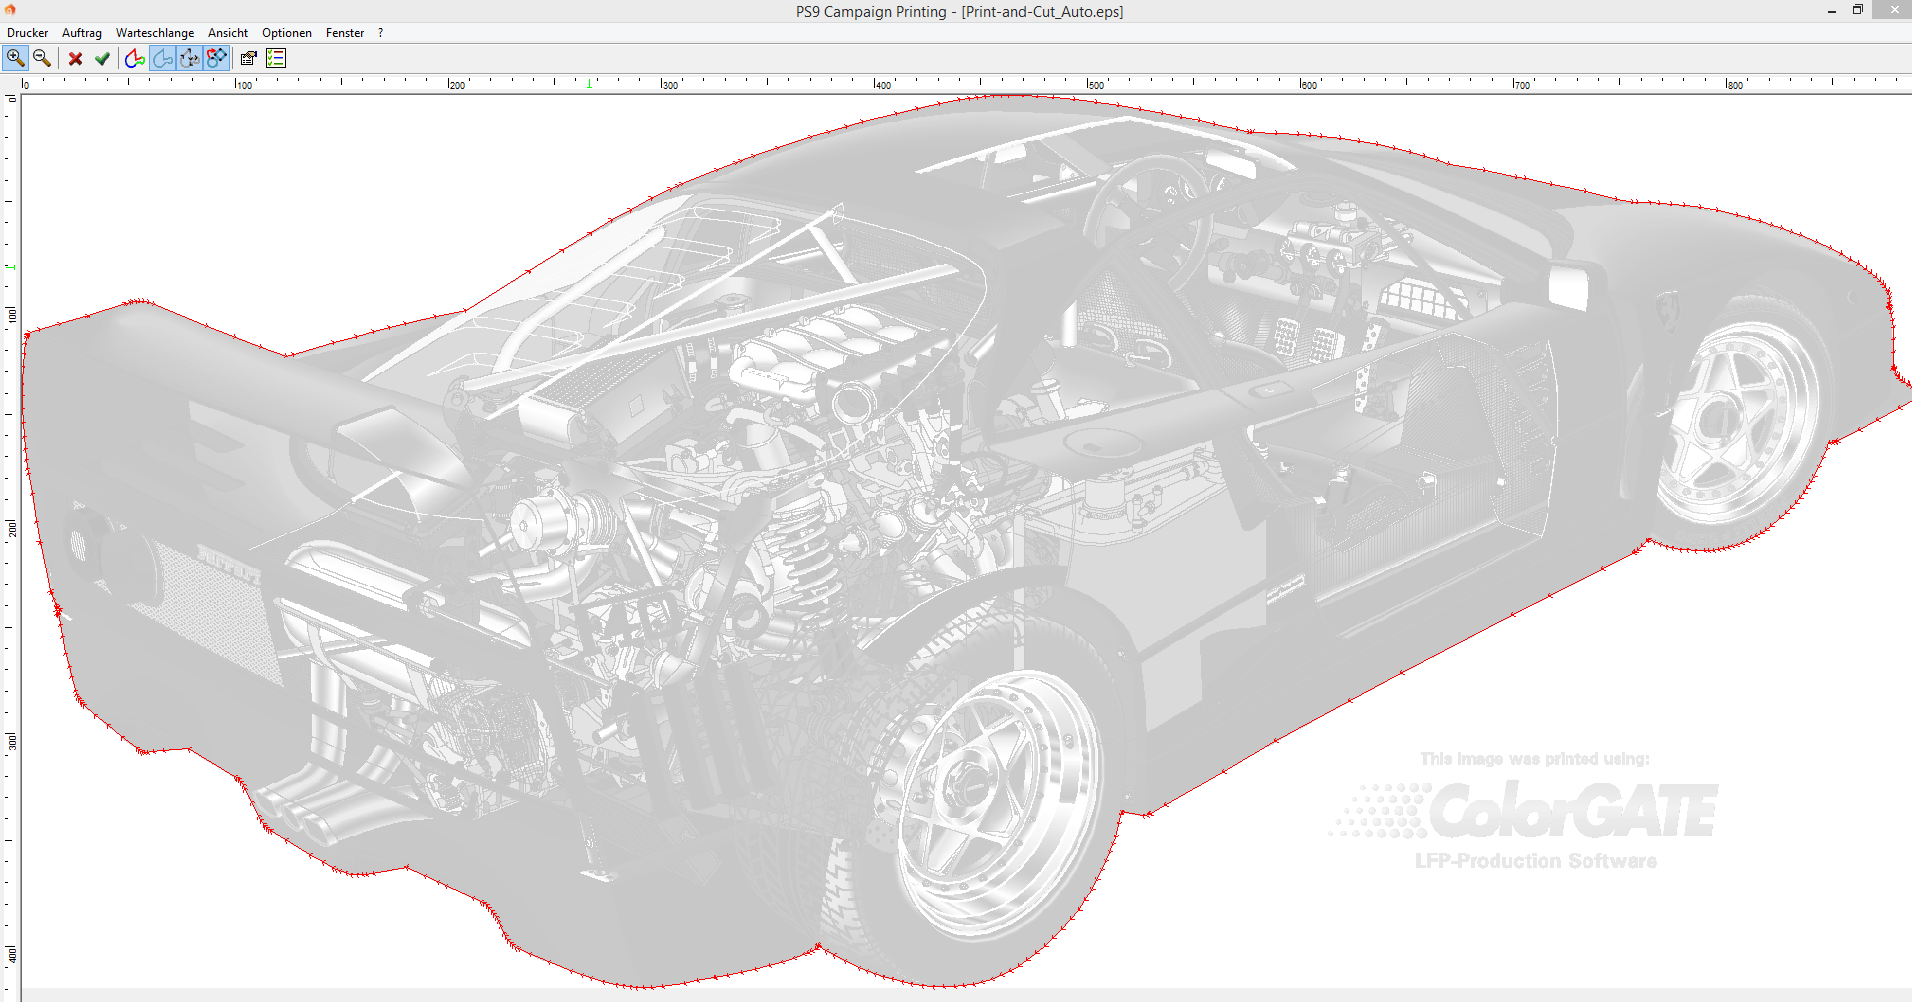
Load a job in the Production Server , which is to be further processed with a cutting plotter . If the Print & Cut module is enabled , you will find at the job level within the tab ” cutting ” . “Activate cutting ” function with . In our example, we select a SummaSign S Class cutters . The most important settings at a glance you can see here:
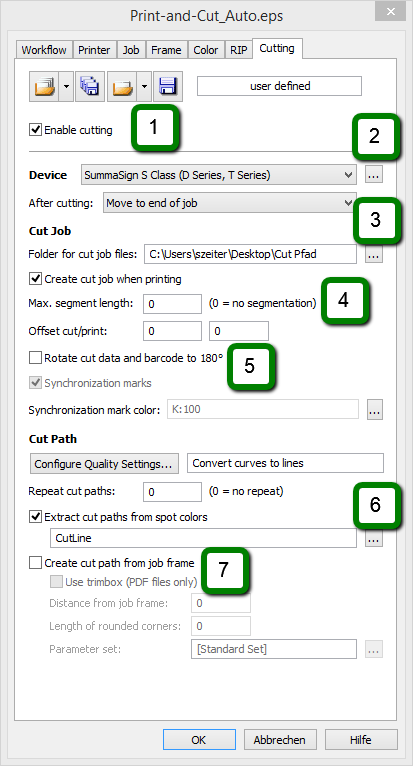
- Activate Cutting: Enables the Print & Cut Module
- Device: Select your cutter , in our example, the SummaSign S Class
- Folder for Cut Job: Select the directory where the cutting jobs are to be saved
- Automatically generate cut job : cutting jobs are generated when print is successful
- Rotate the cutting data and barcode 180 °: This function is important if the print job to be so you do not need to rewind the media
- Extract cutting path from special colors: Define your contour as a spot color . In our example, ” CutLine ” . Please make sure that the contour is created as hairline
- Create Path from job frame: If there are no Path / Cutting contours created , you can easily cut the job frame without first defining a contour in the graphics program
If you print the job , a cutting job is created (automatically when selected) and saved . Then open the ColorGATE CutServer . Please make sure that the CutServer is configured correctly .
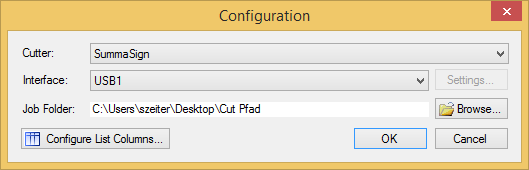
Choose the cutter, the connection and the folders where the cutting jobs are located. ( As in the above Step 3 already defined ) then you will see the cutting job in the job list :

As a final step, take your print job from the plotter and load it into the plotter. Then press start on the CutServer. The job should then be cut .Happy testing !
0 Likes